This simple sourdough bread recipe consistently produces beautiful loaves with minimal fuss. We start on the morning of Day 1 and bake any time on Day 2.
Proofing the loaves in the fridge means you can bake at a time that works with your lifestyle.
Day 1: 7:45am
Feed starter
- 50g 90/10 breadflour/wholewheat
- 50g warm water Mark level with elastic band on jar. Place above fridge to rise
Weigh out ingredients (70% hydration)
- 450g bread flour
- 50g whole wheat flour
- 350g water
- 10g salt
Day 1: 11:15am
Mix 60g starter into 350g room temp water Combine with 500g flour mix Cover and rest for an hour
Day 1: 11:45am
8 x stretch & folds, sprinkling pinches of salt on each fold
Day 1: 12:45pm
4 x stretch & folds
Day 1: 1:20pm
4 x stretch & folds
Day 1: 2:00pm (Start Bulk Fermentation)
4 x stretch & folds Remove from bowl, clean bowl, dust with rice flour. Put dough back in bowl. Dust dough with rice flour. Cover with cling film and start bulk fermentation on kitchen counter
Day 1: 9:30pm (Shaping & Proofing)
Dust counter with rice flour. Remove dough from bowl. Shape on counter. Dust parchment paper with rice flour. Transfer shaped dough to parchment paper Pick up parchment paper and dough, and place back in bowl. Cover bowl with cling film. Place in fridge
Day 2: 6:45am
Place cast iron dutch oven with lid in oven Place cookie sheet underneath to minimize base crust hardness Set oven to 450F
Day 2: 7:45am
Remove dough from fridge and score Remove dutch oven from oven, place dough & parchment paper in dutch oven Return dutch oven to oven Reset oven to 450F Set timer for 25 mins
Day 2: 8:05am
Remove lid from dutch oven Reset oven to 450F Set timer for 20 mins
Day 2: 8:25am
Remove dutch oven from oven Remove bread from dutch oven, and place on cooling rack Allow to cool for AT LEAST 2 hours
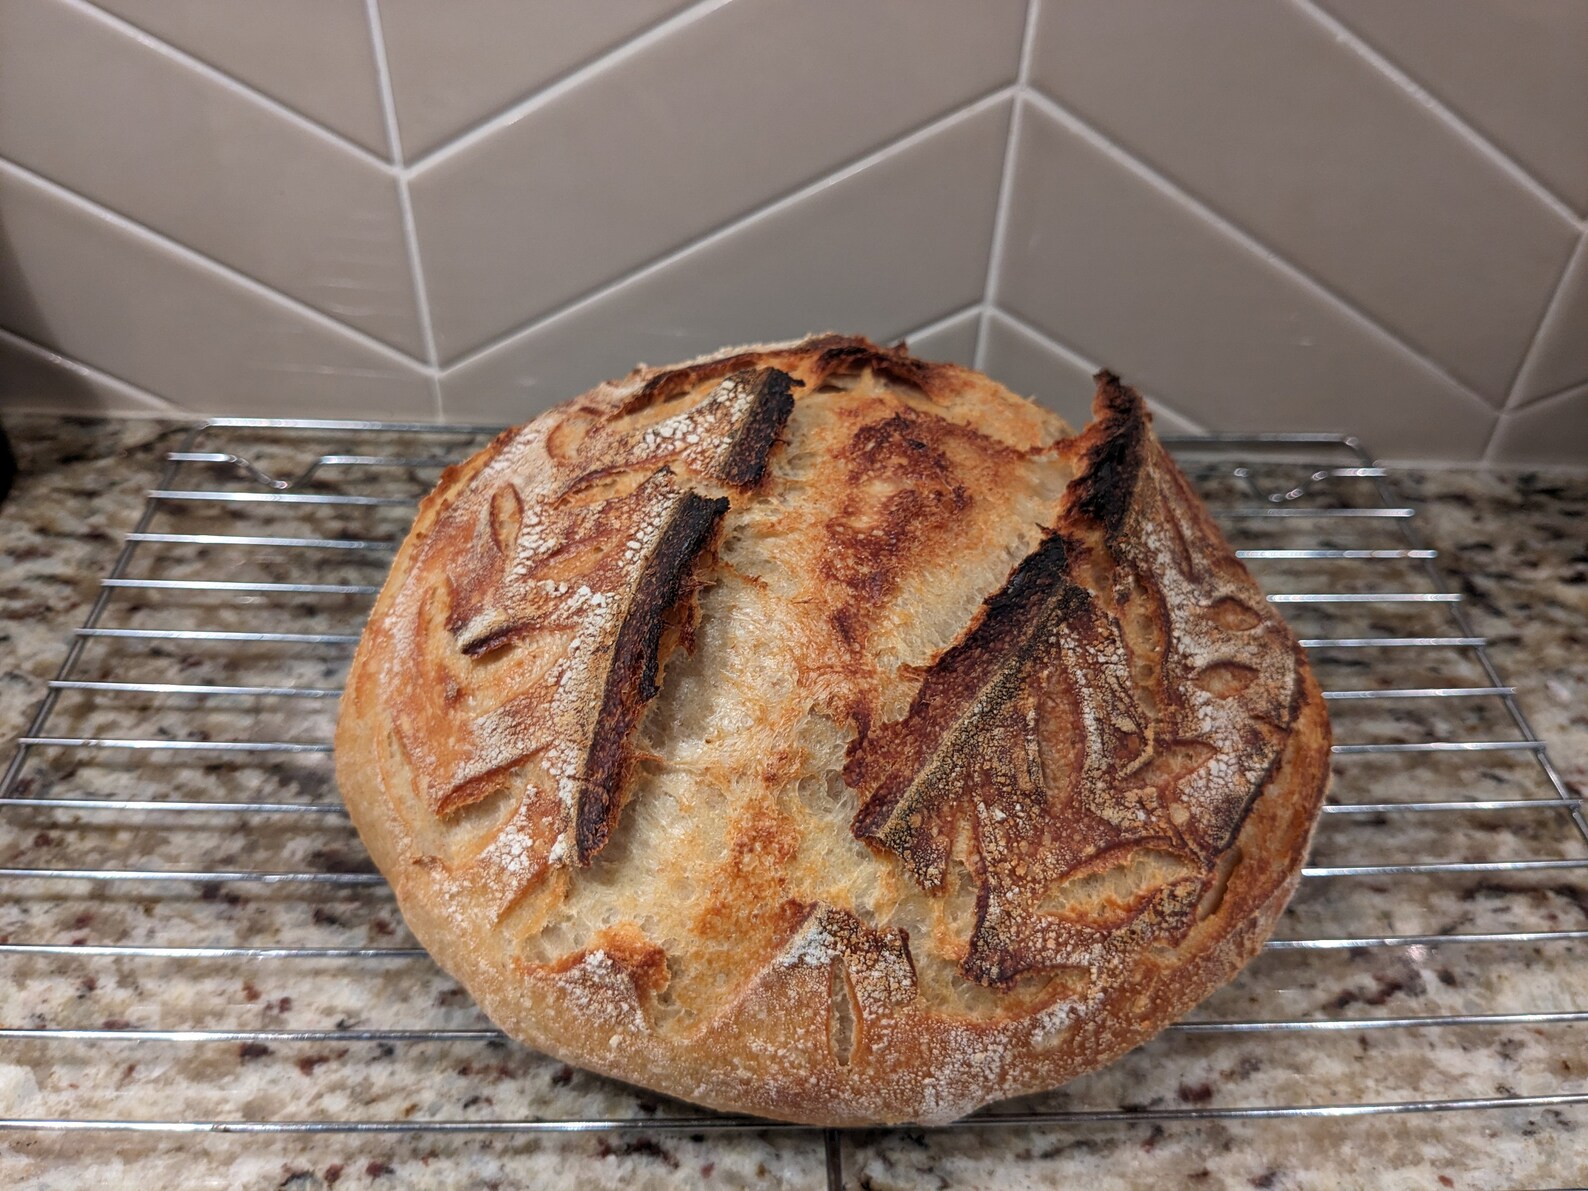
Resuling loaf was very good - lots of oven spring, nice open crumb without large tunnels. Nice crust, no ears though